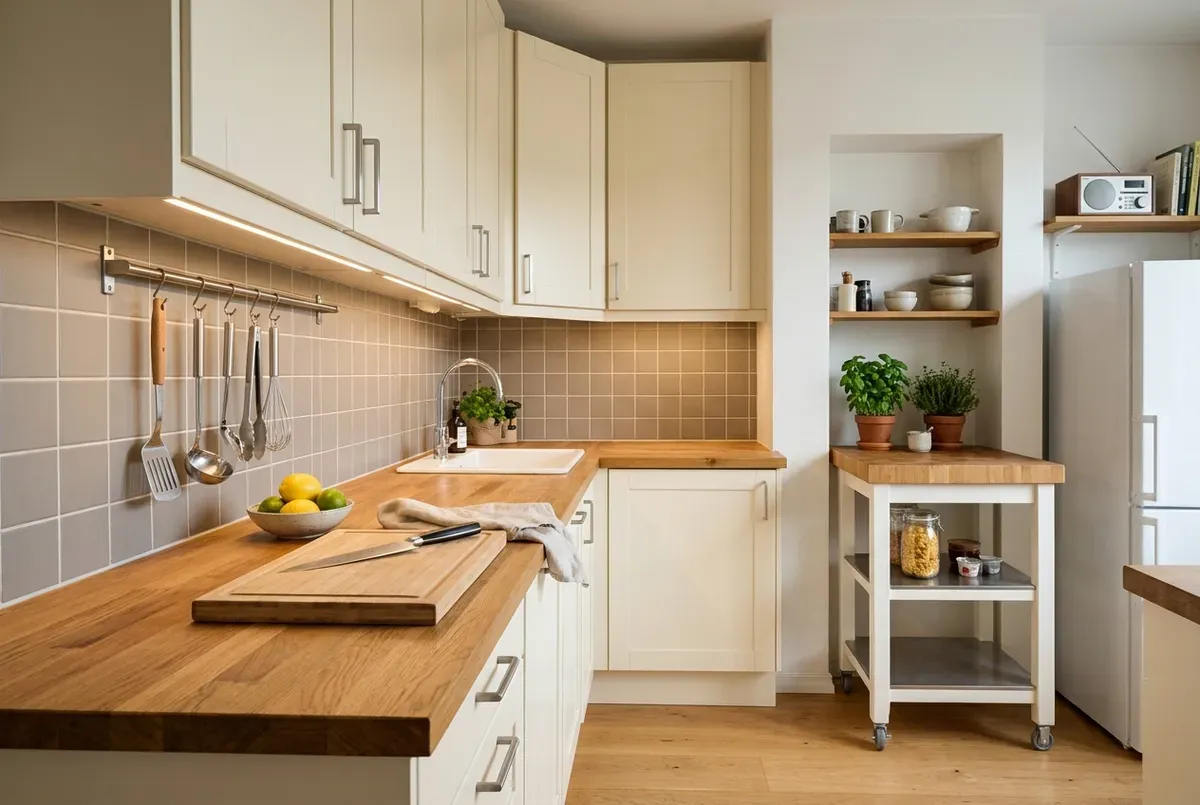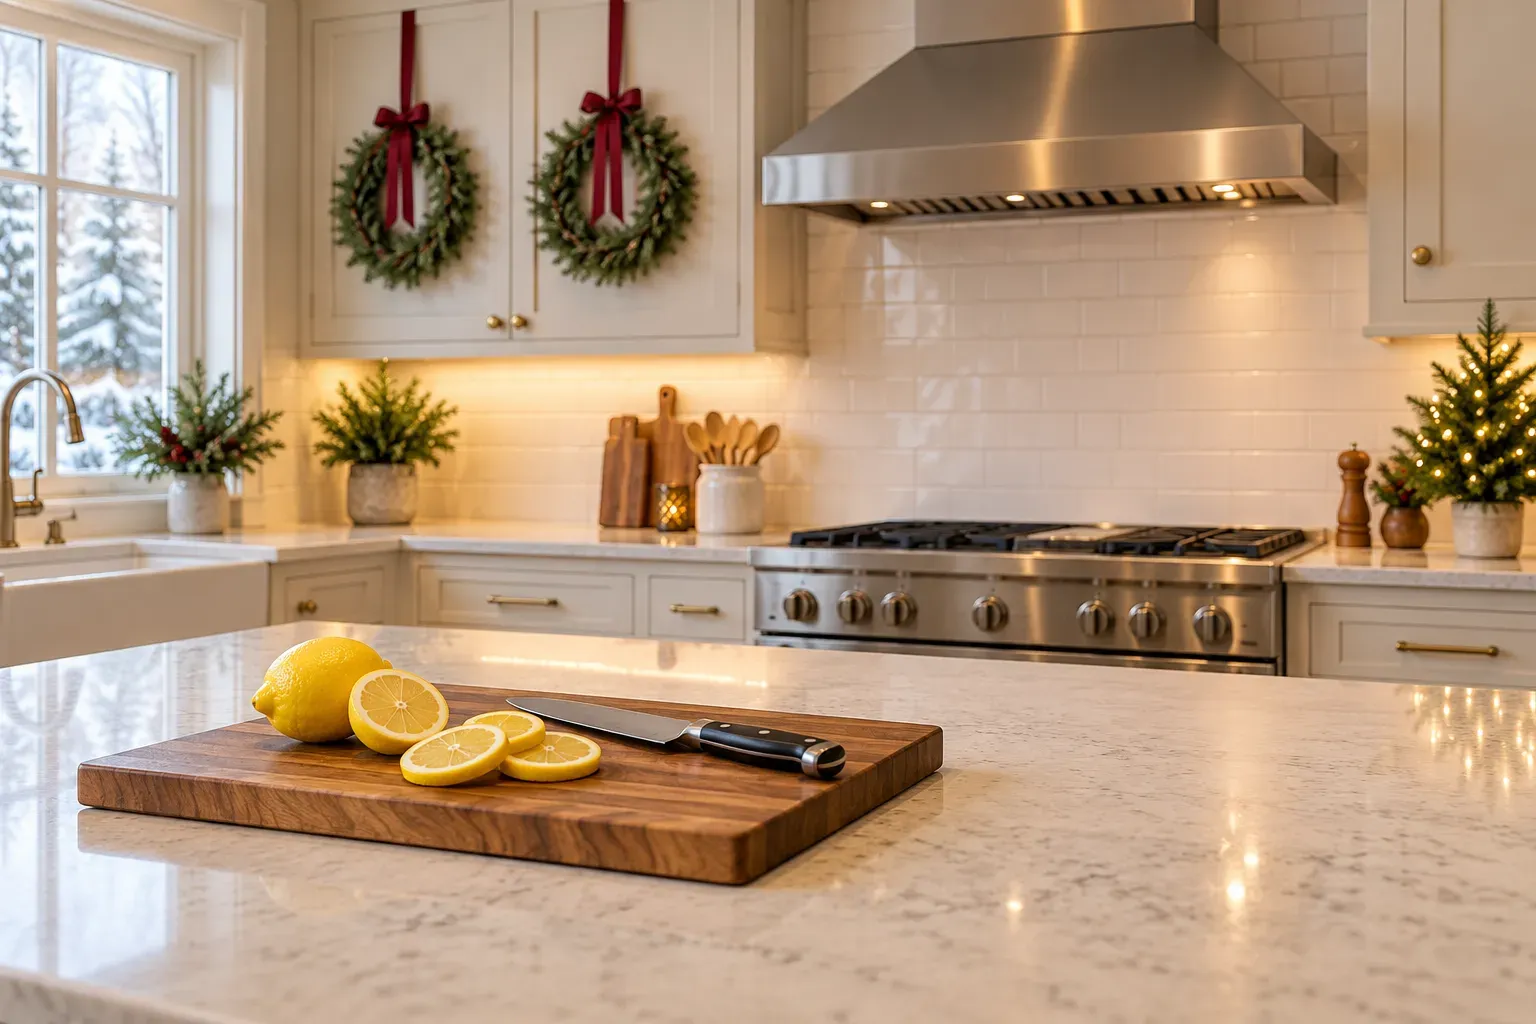
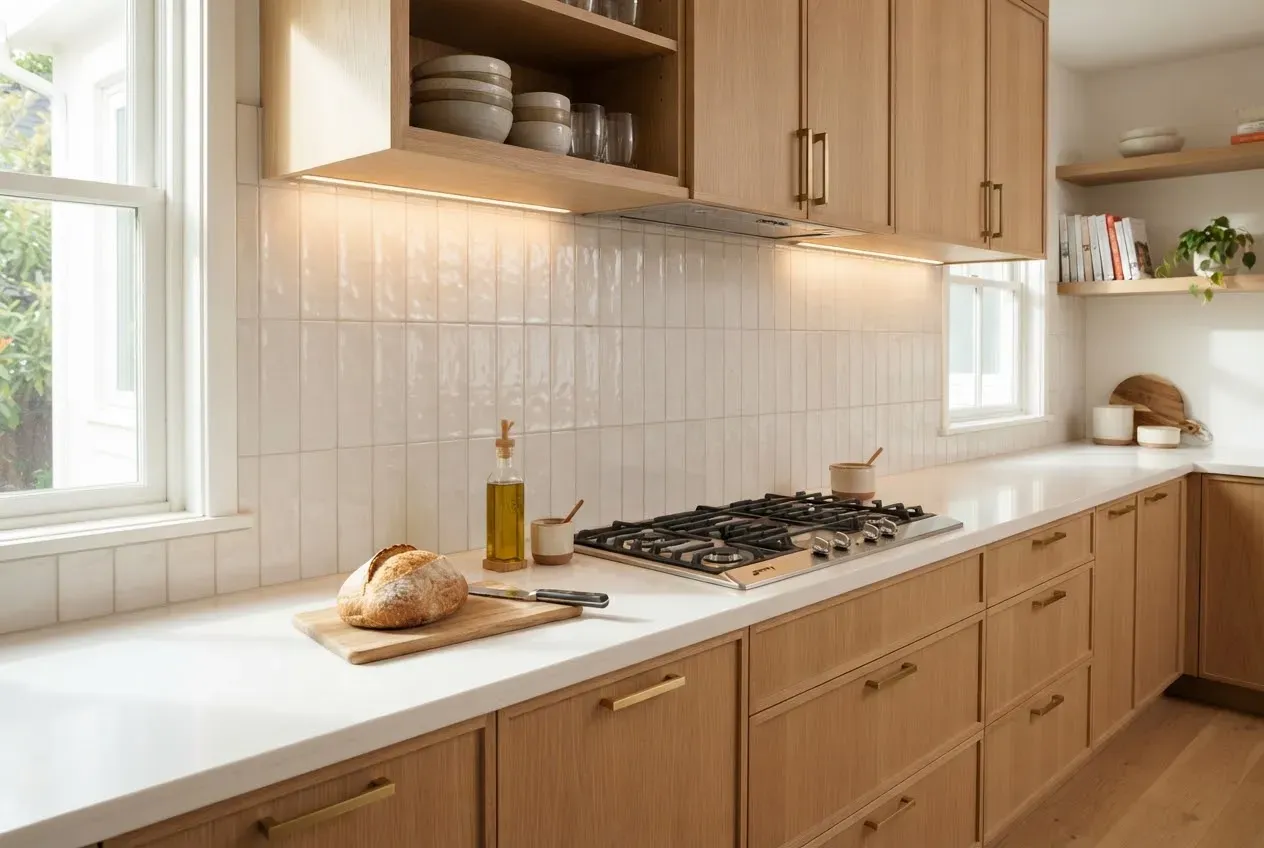
A kitchen backsplash shields drywall from grease, steam, and water splashes while defining the visual space between countertops and upper cabinets. The right design balances tactile texture with quick maintenance so the wall behind your cooktop and sink wipes clean without absorbing stains. From handcrafted glazed tiles and vertical subway stacks to seamless stone slabs, durable surfaces paired with stain-proof joint details keep your kitchen practical.
Select durable, low-maintenance materials for cooking zones
The wall behind the cooktop and sink takes constant exposure to cooking oils, steam, and water. Non-porous surfaces prevent hot splatters from penetrating the wall substrate and simplify daily upkeep.
Glazed ceramic and porcelain for effortless cleanup
Glazed ceramic and porcelain tiles offer dependable performance in high-heat cooking zones. Fired glass glazes form an impervious barrier: hot oil, sauce, and broth splatters sit on the surface rather than soaking into the clay. Warm water and mild dish soap on a microfiber cloth wipe the wall clean in seconds.
Large-format porcelain tiles reduce upkeep by eliminating most seams. Rectified porcelain features machine-cut 90-degree edges for joints as narrow as 1/16 inch, giving grease few seams to collect in.
Handcrafted and zellige tiles for tactile character
Handcrafted tiles, including Moroccan zellige, bring subtle texture and lively light reflection to kitchen walls. Each piece carries gentle variations in depth, edge straightness, and glaze shading.
Behind a cooktop, choose glossy or satin glazes over raw terracotta. The glazed surface repels splatters, while undulating tile faces soften cabinet lines and catch daylight throughout the day.
Use vertical tile layouts to add height between counters and cabinets
In standard kitchens, the vertical gap between countertops and upper cabinets is roughly 18 inches. In compact kitchens or rooms with eight-foot ceilings, horizontal subway tiles can reinforce horizontal boundaries, making that clearance feel tight.
Vertical stacked subway tiles create clean architectural lift
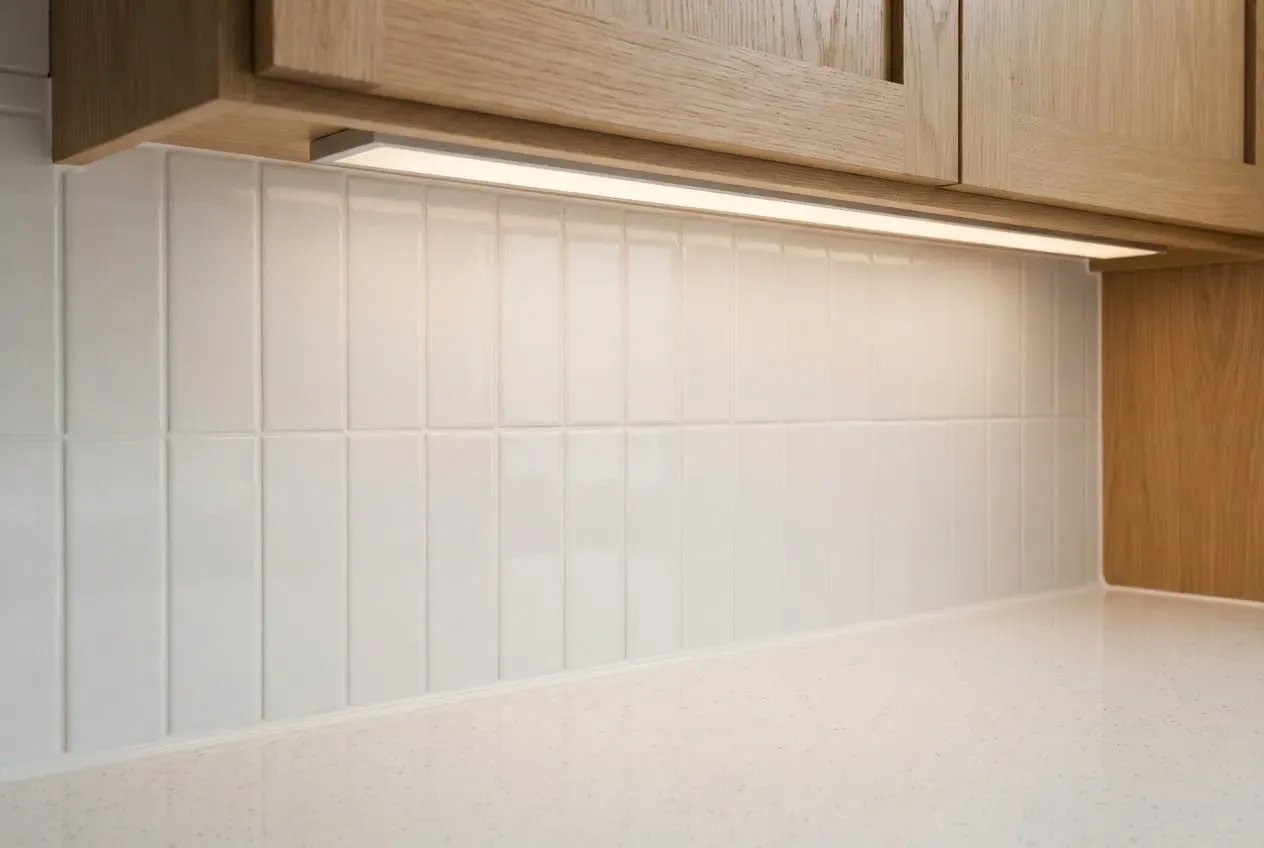
Arranging rectangular subway tiles in a straight vertical stack draws the eye upward from counter to cabinets. Continuous vertical grout lines give an impression of greater wall height.
Formats like 2x6, 2x8, or 2x10 inches work best for this layout. A straight grid yields crisp vertical columns that flatter compact prep areas and low soffits.
Kit-kat and finger mosaic tiles for subtle texture
Finger tiles, or kit-kat mosaics, provide a narrower profile. These ceramic strips measure 1/2 to 3/4 inch wide by 4 to 6 inches tall and mount on mesh-backed sheets for clean alignment.
The vertical rhythm adds texture without clutter. Paired with tonal grout, finger mosaics create a tailored backdrop that complements wood cabinetry, quartz counters, and open shelving.
Run continuous stone slabs from countertop to wall
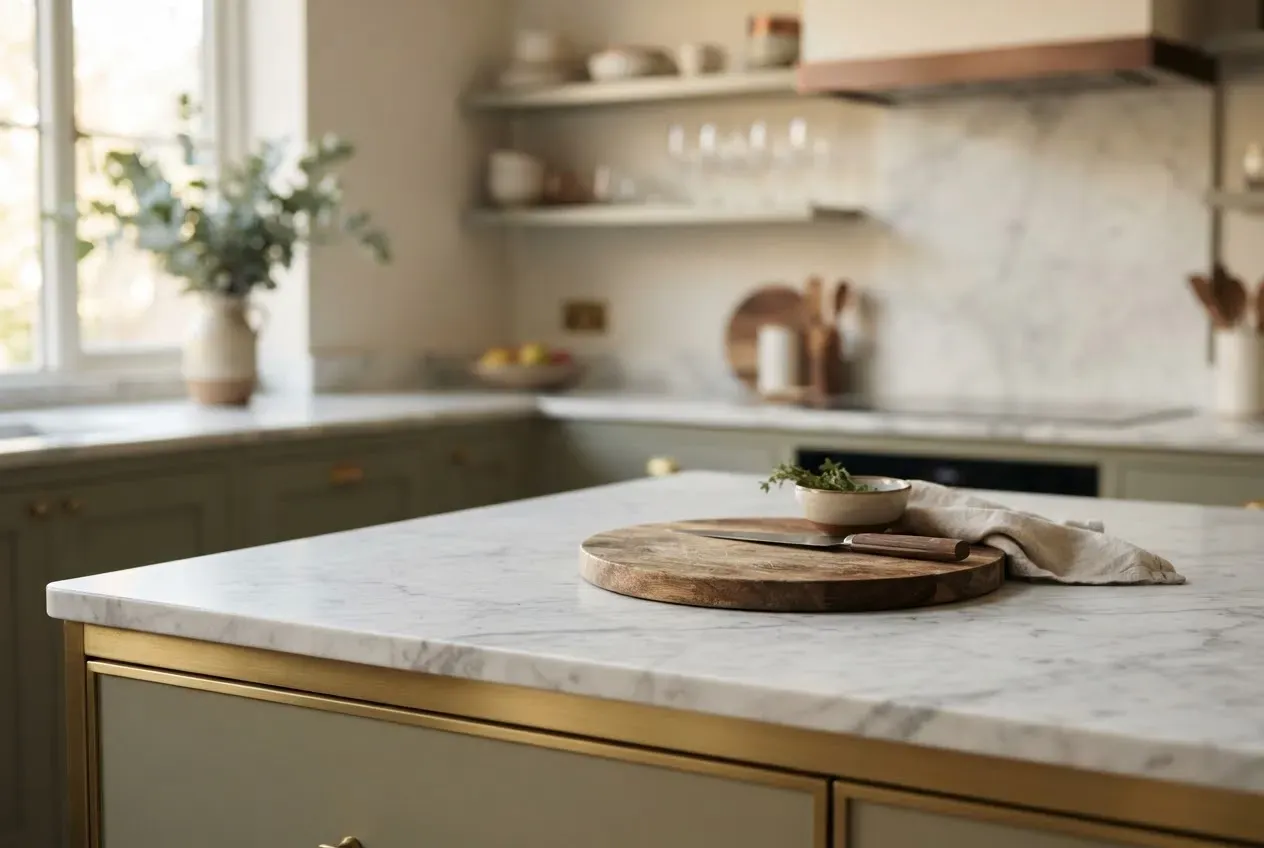
Carrying countertop stone up the wall creates a seamless backsplash. A continuous slab of quartz, porcelain, or natural stone forms an expansive focal surface that wipes clean in one pass.
Full-height slab installations for uninterrupted focal walls
A full-height slab runs from the deck to wall cabinets or the ceiling behind a range hood. Without grout lines across cooking zones, grease cleanup takes a quick wipe.
Engineered quartz and porcelain slabs perform reliably in full-height installations. Quartz provides non-porous durability; porcelain replicates marble veining without staining risks. During templating, review layout alignment between vertical veins and countertop patterns.
Low slab upstands paired with washable wall finishes
For open wall space or lower budgets, consider a tailored stone upstand. A 6- to 8-inch upstand fabricated from the countertop stone shields the critical zone behind sinks and food prep areas.
The wall above can receive scrub-rated matte paint, plaster, or wood paneling. The upstand guards against standing moisture while leaving upper walls open for sconces or rails.
Join countertops and wall slabs with flexible movement joints
Treat the 90-degree seam between counter and wall as an expansion joint. Never fill this joint with rigid grout; cabinets and framing shift with seasonal humidity.
Maintain an intentional 1/16- to 1/8-inch gap and seal it with color-matched 100% silicone sealant. Silicone accommodates building movement without cracking or letting moisture seep behind base cabinets.
Protect wet and cooking zones with stain-resistant grout and sealants
Grout is typically the first part of a tiled backsplash to show wear. Standard cement-based grout is porous, absorbing oils, sauces, and hard water minerals.
Upgrade to epoxy or high-performance urethane grout
To avoid recurring resealing cycles, specify non-porous grout formulations:
- Epoxy grout: Cures into an impermeable plastic matrix. It resists hot grease, vinegar, and sauces without absorbing moisture, and it never needs sealers.
- Single-component urethane grout: Offers strong stain resistance and flexible curing without the fast setup time of epoxy, simplifying residential installation.
Maintain tight joints and seal perimeter transitions
Keep joints as narrow as tile tolerances permit: 1/16 inch for rectified tiles, and a tight 1/16 inch for zellige to avoid wide channels where grease collects.
Seal every change of plane with color-matched 100% silicone sealant rather than hard grout—including seams at countertops, cabinet sides, window sills, and range hoods. Silicone flexes with movement and maintains a dependable waterproof barrier.
Integrate lighting and clean edge transitions
A backsplash works in tandem with task lighting and cabinet terminations to complete the room.
Position under-cabinet LED task lighting
Mount low-profile LED channels toward the front lip of upper cabinets, angling light downward and slightly back toward the wall. Back-wall mounting casts harsh raking light down the tile, exaggerating minor lippage. A front placement spreads even task light over counters and highlights tile glaze. Use warm-neutral 3000K LEDs with a CRI of 90+ for accurate color rendering.
Plan clean edges where cabinetry ends
Where cabinets stop before a corner or door, plan clean terminations:
- Align flush with upper cabinets: Stop tile flush with the outer cabinet edge to maintain a crisp vertical line.
- Finish with slim metal profiles: Use an aluminum or brass Schluter strip, or glazed pencil bullnose, to cover raw edges.
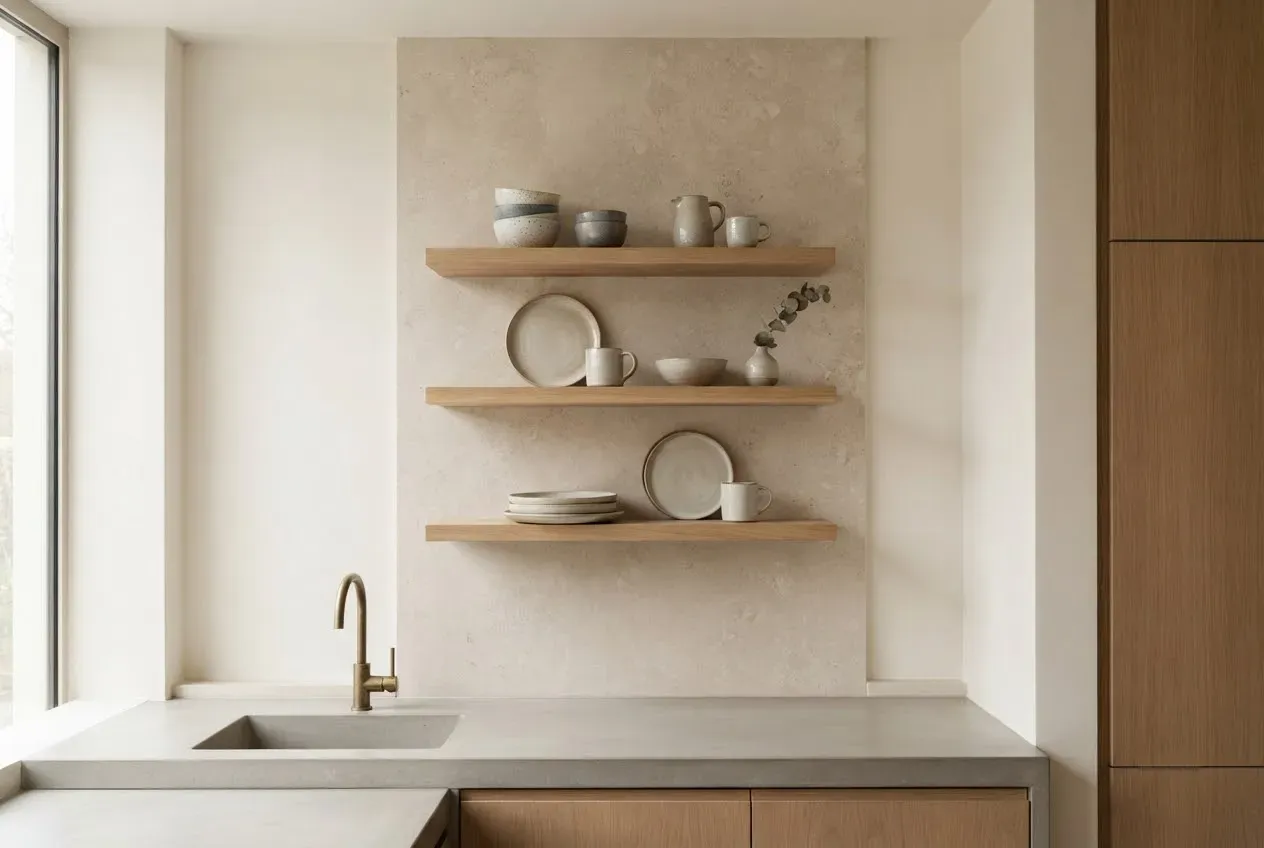
- Extend around floating shelves: Carry tile or stone to the ceiling around open shelves to create an intentional accent wall.
A dependable kitchen backsplash balances non-porous surfaces, vertical proportions that flatter the room, and flexible waterproof perimeter joints. Choosing materials that handle heat, grease, and moisture keeps your cooking space durable and easy to maintain every day.