
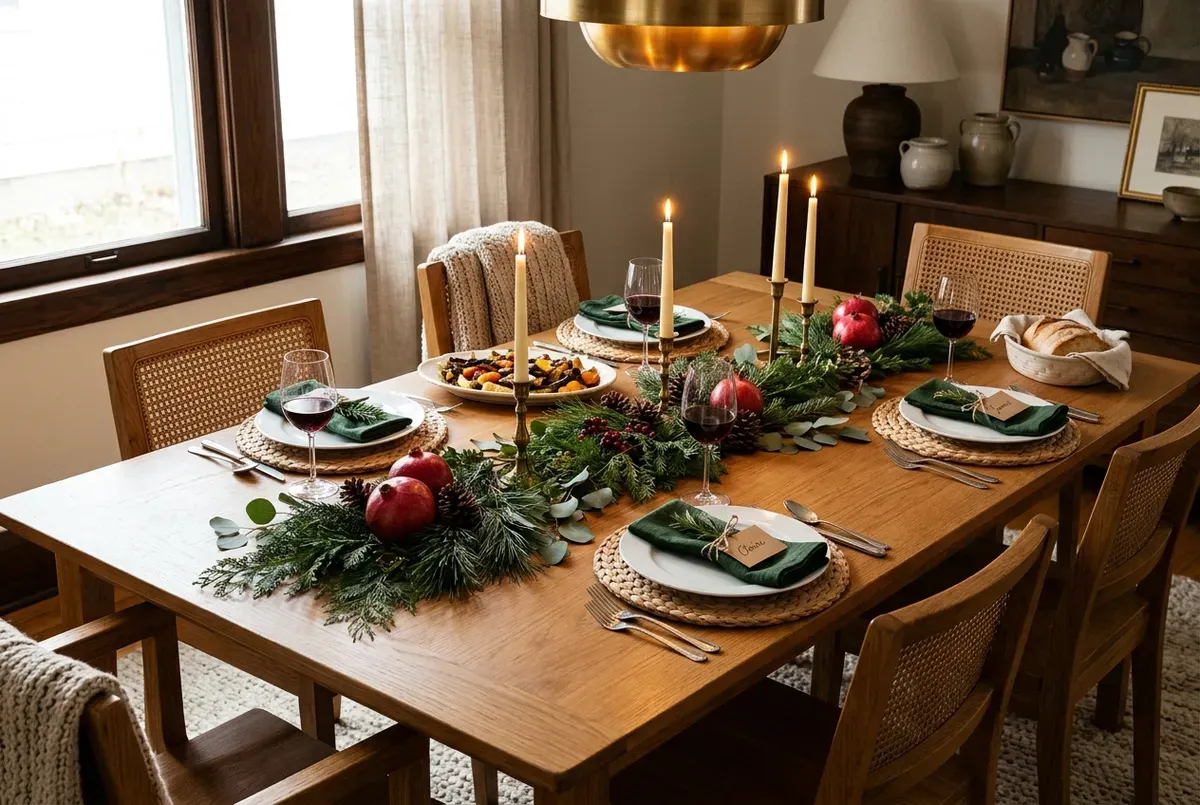
Start with the plates and serving dishes, then fit the Christmas decorations around them. A low evergreen centerpiece, linen napkins in one seasonal color, and handwritten place cards can dress up everyday dinnerware without taking over the table.
The most useful Christmas table decor ideas leave space for dinner. Decide first whether guests will pass platters around or collect food from a sideboard; that choice determines how much greenery and candlelight belongs in the center.
Make room for the meal before adding greenery
Set one complete place setting using the dishes and glasses you actually plan to serve with. Add the neighboring setting, pull up both chairs, and check whether someone can lift a glass and use their cutlery without brushing the next person's things.
Now put the empty serving platters on the table. Include the gravy boat, bread basket, and any carafes rather than assuming they'll fit later. For family-style dining, these spaces are part of the layout, not gaps to fill with ornaments.
On a narrow table, a charger may take up the space you need for a side plate. Try the setting without it before squeezing everything closer together. If the table is already full, serve the main dishes from a sideboard and keep only frequently passed items within reach.
Build a low centerpiece with breaks for platters
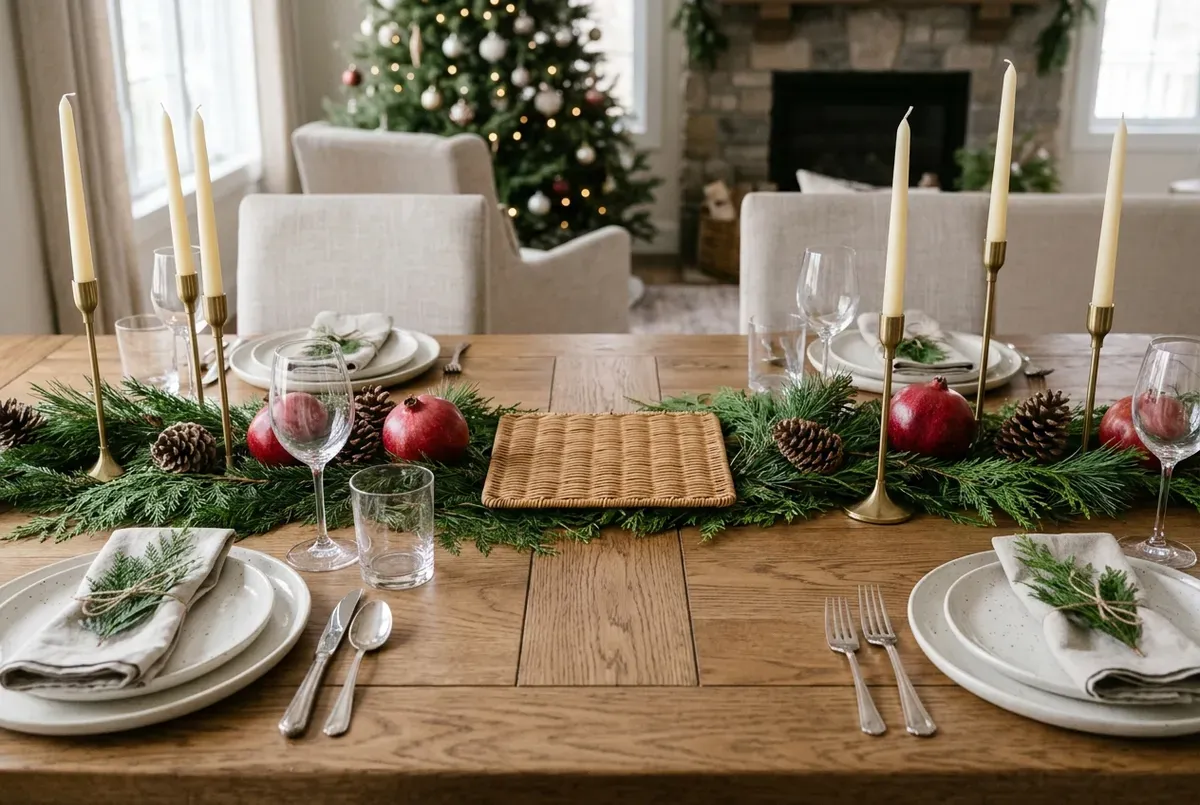
Arrange short evergreen branches in loose, overlapping sections down a rectangular table. Let the tips follow the length of the table instead of spreading toward the plates. You don't need a dense garland from end to end: separate clusters can suggest a runner while leaving useful breaks between them.
For a round table, use a shallow bowl or a compact cluster in the middle. A long garland tends to divide the surface awkwardly and spill into individual settings.
Tuck pinecones and whole pomegranates into the greenery for texture and deep red color. Keep loose accents in a shallow dish if they roll or shed. Whole fruit is a simpler choice here than cut fruit, which leaves exposed juice close to linens and dinnerware.
Check the arrangement from a seated position on both sides. If branches hide the face opposite you, trim or flatten that section. This works better than relying on a fixed centerpiece height that may not suit your chairs or table.
Give candlesticks their own clear spaces, separate from foliage and ribbons, with each base resting flat. Choose simple holders rather than bulky clusters if you want height without a broad visual barrier. Battery candles are another option when you want points of light among a fuller arrangement.
Choose linens and chargers as a combination
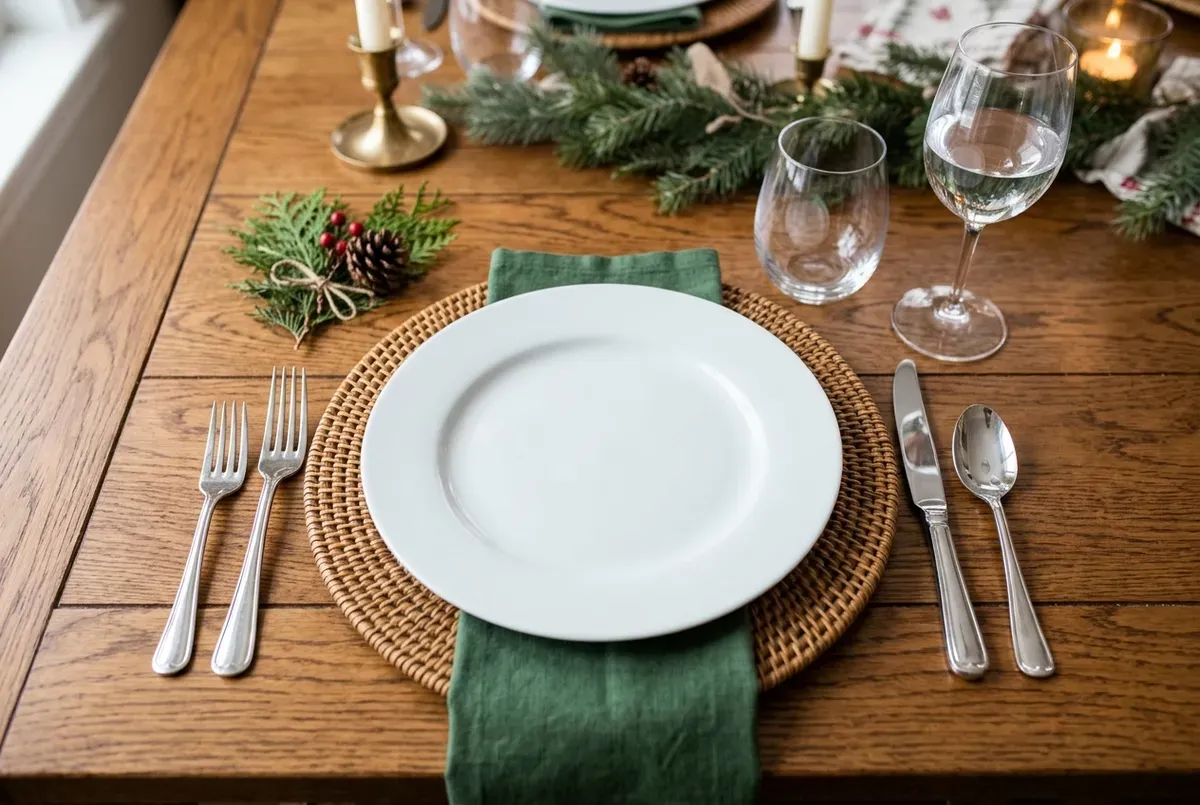
Use your existing plates as the starting point. A plain white dinner plate can look quite different against dark linen, woven texture, or a patterned cloth, so change the surrounding layers before replacing the dishes.
Ivory, evergreen, and warm brass
Pair an ivory tablecloth with green linen napkins, white plates, and brass-colored candleholders or napkin rings. The green gives the setting its Christmas color; the pale cloth keeps the table from feeling too dark. Add a woven charger if the table has room and you want a less formal finish.
Burgundy with a visible wood tabletop
Leave the wood exposed and use a narrow neutral runner, burgundy napkins, and cream plates. Repeat the burgundy in the place-card ribbon or pomegranates. Skip the charger when the grain of the wood already gives the setting enough texture.
A patterned cloth with quiet place settings
Let a checked or botanical tablecloth carry the decoration. Choose plain napkins in a color drawn from the cloth, then keep the plates and chargers simple. Patterned plates can work, but try one setting first: if their edges disappear against the cloth, a plain plate will make the arrangement easier to read.
Whatever the palette, include only the dishes needed for the first course. A stack of unused bowls makes the setting taller and gives guests something else to move before eating.
Give each guest one personal detail
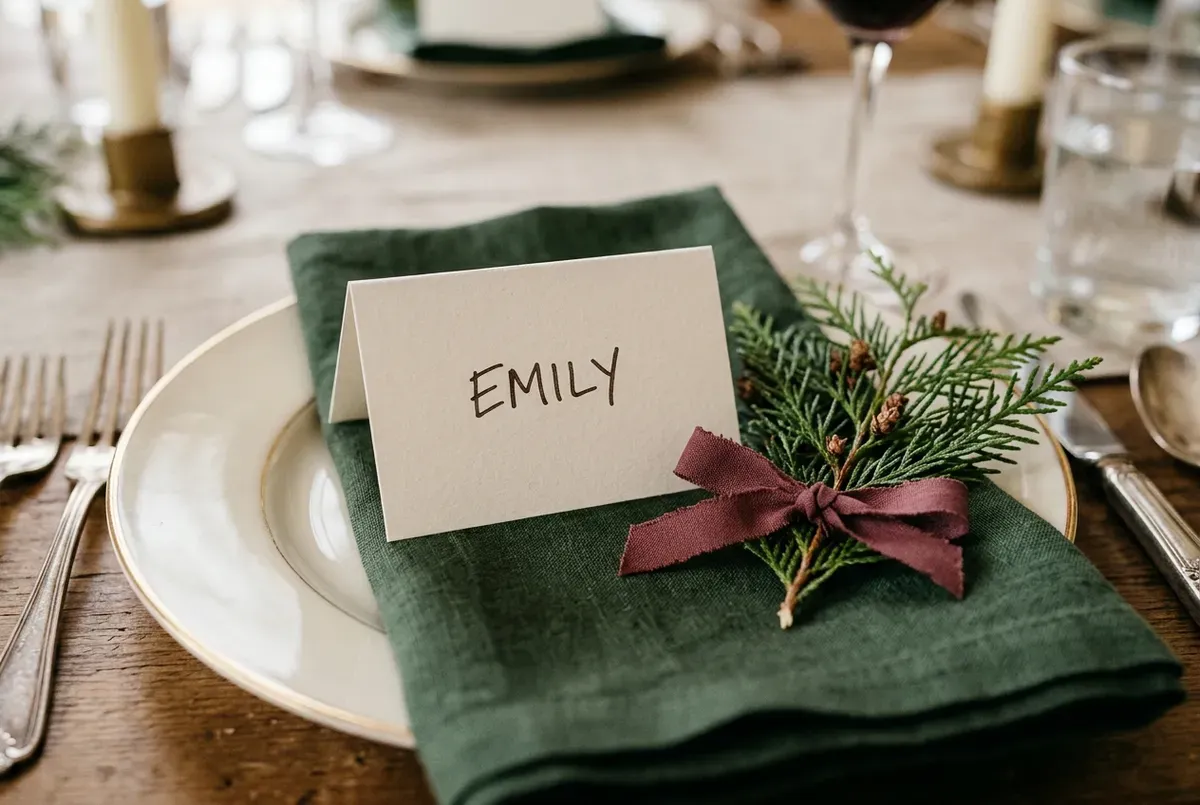
Write names on folded card stock and set each card above the plate or across a folded napkin. Clear handwriting is more useful than elaborate lettering that guests have to decipher.
For a botanical accent, tie a small evergreen sprig to the card with a short ribbon and place it beside the plate. Keeping the sprig off the eating surface also makes it easy to lift the card and greenery away together.
A small ornament can double as a place marker and a take-home gift. Attach a name tag to its loop and rest it on the napkin, provided it sits securely. Choose either the ornament or the sprig; adding both, plus a favor box and napkin ring, quickly crowds the setting.
Keep ribbon ties loose enough to undo by hand. Guests should be able to use their napkins without dismantling a craft project.
Set the table in an order that avoids rework
Once you've tried the layout, assemble it in this sequence:
- Prepare the linens away from the table, then lay the cloth or runner. Adjust the overhang so it doesn't bunch on chair seats.
- Set out the plates, cutlery, and glasses for every guest. Check the end seats as well as the sides.
- Place the empty serving dishes where they'll go during dinner. Reserve clear spots with heat-resistant trivets for hot dishes.
- Fit the greenery and candleholders around those spaces. Keep the platter areas clear of branches rather than hiding supports inside the garland.
- Add napkins and name cards, then sit down for a final check of the view and reaching space.
Leave yourself somewhere nearby to put ornaments or extra glassware if the meal needs more room. When a serving dish won't fit, shorten a section of greenery rather than asking guests to rearrange their settings. The table should still work once dinner arrives.